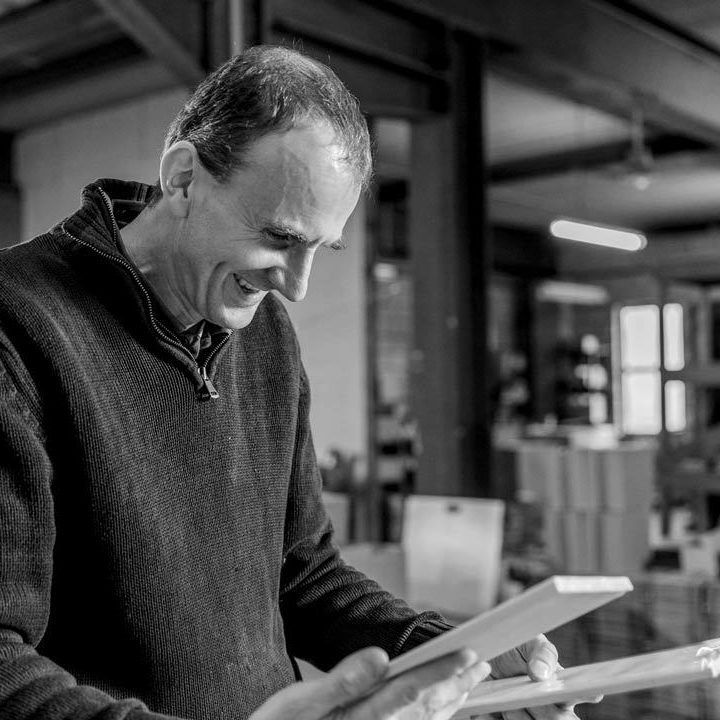
Our craft
If you were to ask us why you should choose a Marlborough tile over any other, we’d say, because we make them.
For 85 years we’ve been perfecting our processes and fine tuning our knowledge. Today, as Britain's leading artisan tile producer, we're still driven by a passion for pushing the boundaries of our craft. We pay attention to every detail of the tile to ensure the highest quality.
88 years perfecting our processes and fine tuning our knowledge
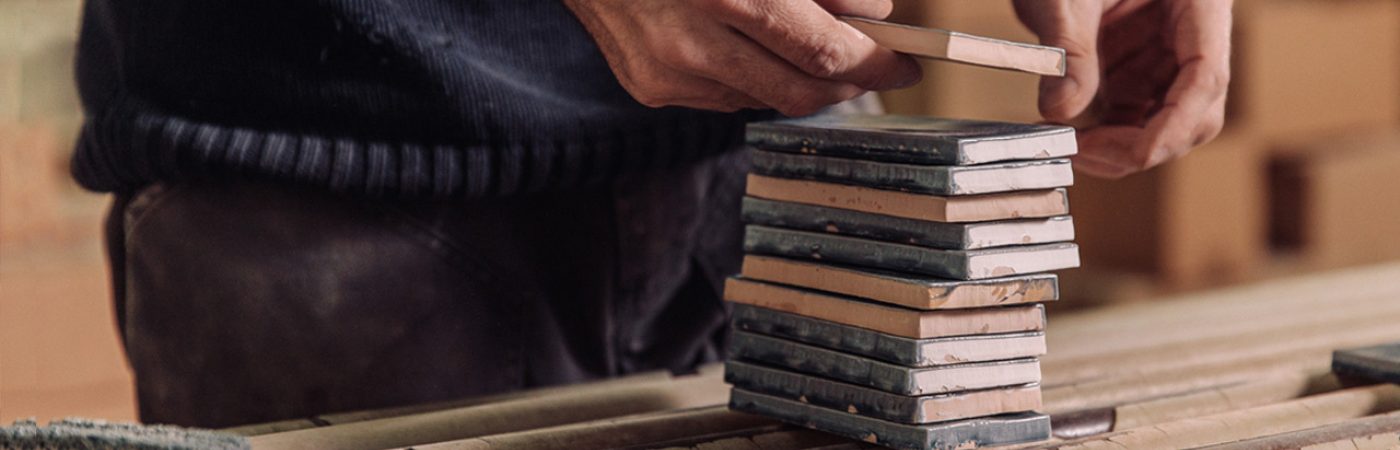
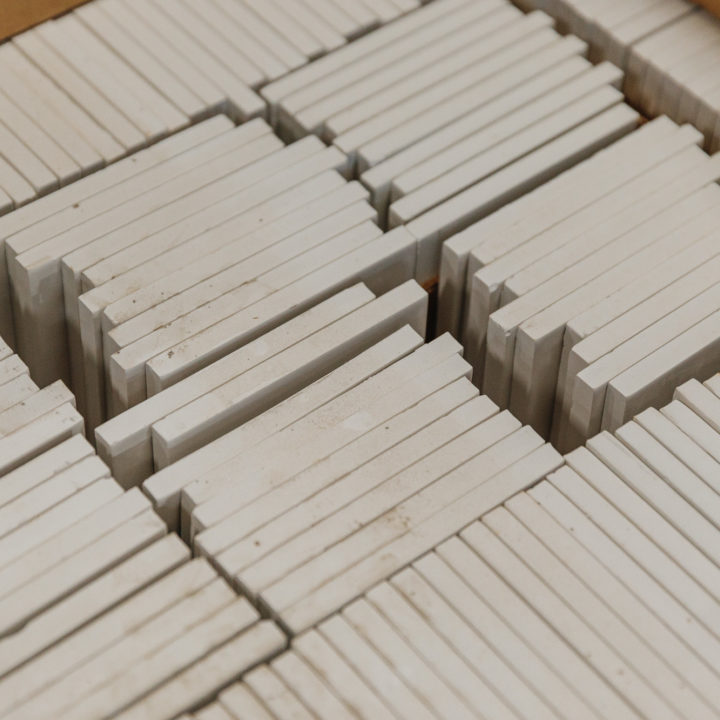
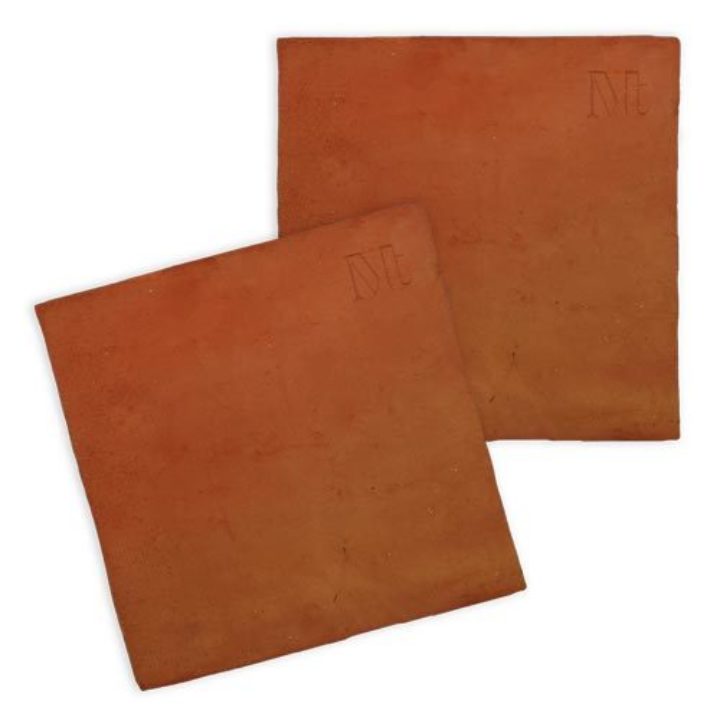
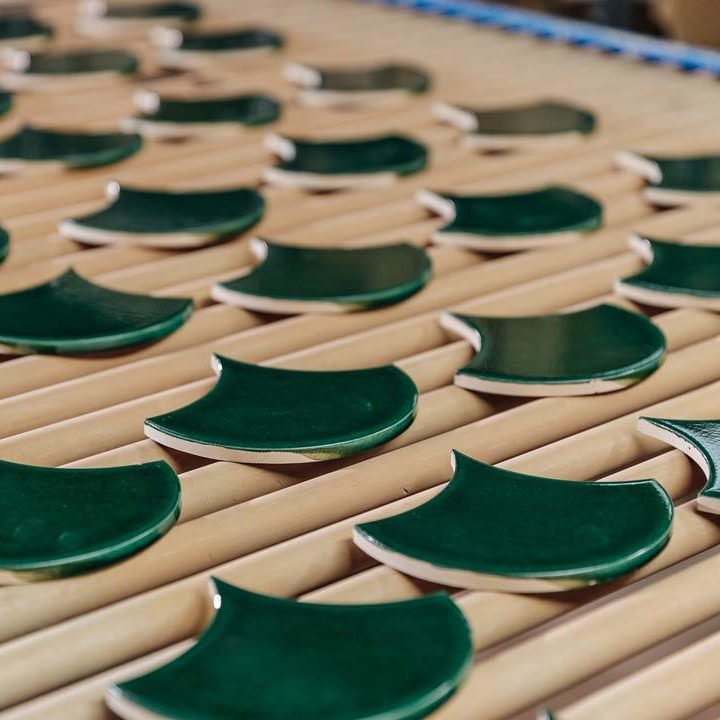
1. The biscuit
Only the finest clay is used to make the body of our tiles known as the "biscuit". The tile is made either by hand moulding the clay, extruding the clay or dust pressing.
Marlborough Tiles takes ownership of what the tile looks like. We put a lot of effort into designing the moulds. We have 8 different surfaces to make sure there are no obvious repeats.
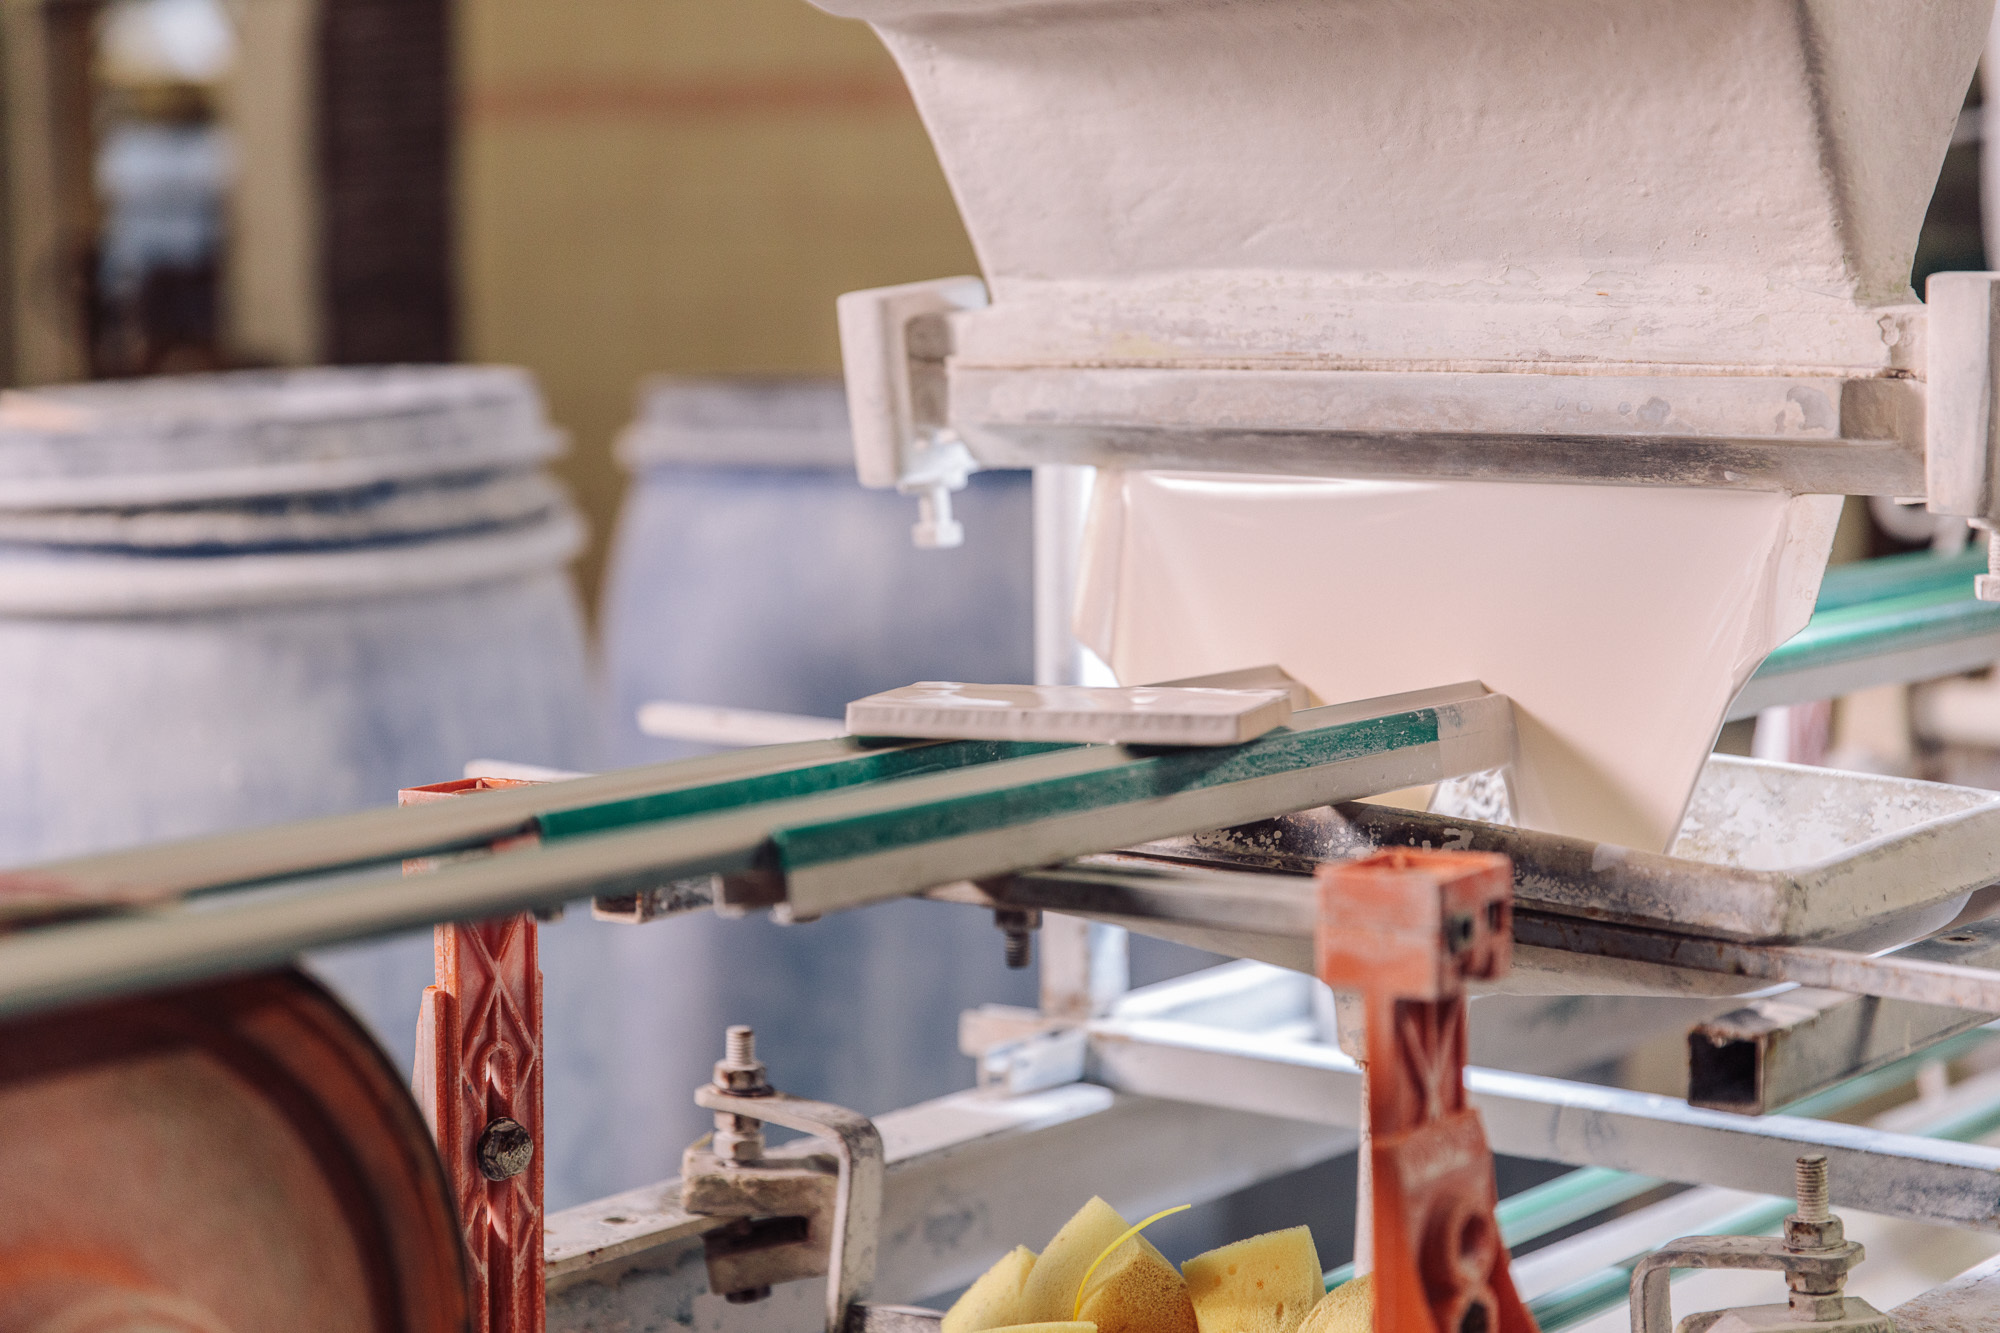
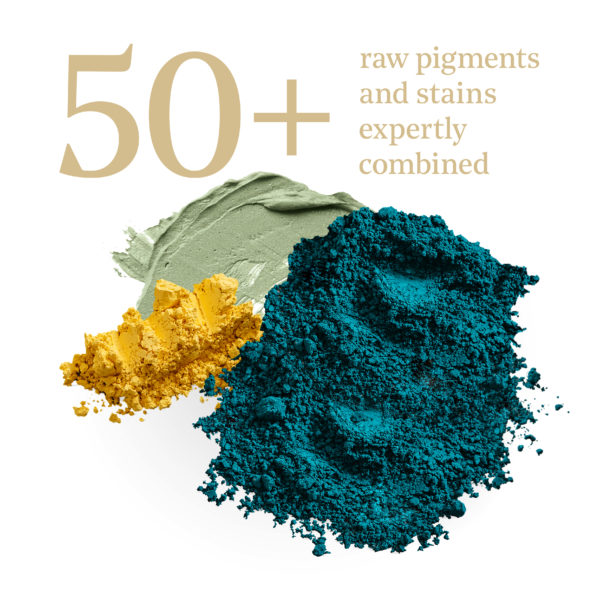
2. The Glaze
On to the biscuit we apply opaque and transparent glazes in an array of carefully researched colours. Each of our colours is individually mixed, selecting from over 50 raw pigments and stains that are expertly combined to create exact nuances of shade we are looking for.
We use the waterfall method of glazing in which a stream of glaze falls onto the tile as it passes by below on a conveyor belt. We are unique in that we use four different layers of glaze with different viscosities and densities to ensure superior coverage and depth of colour.
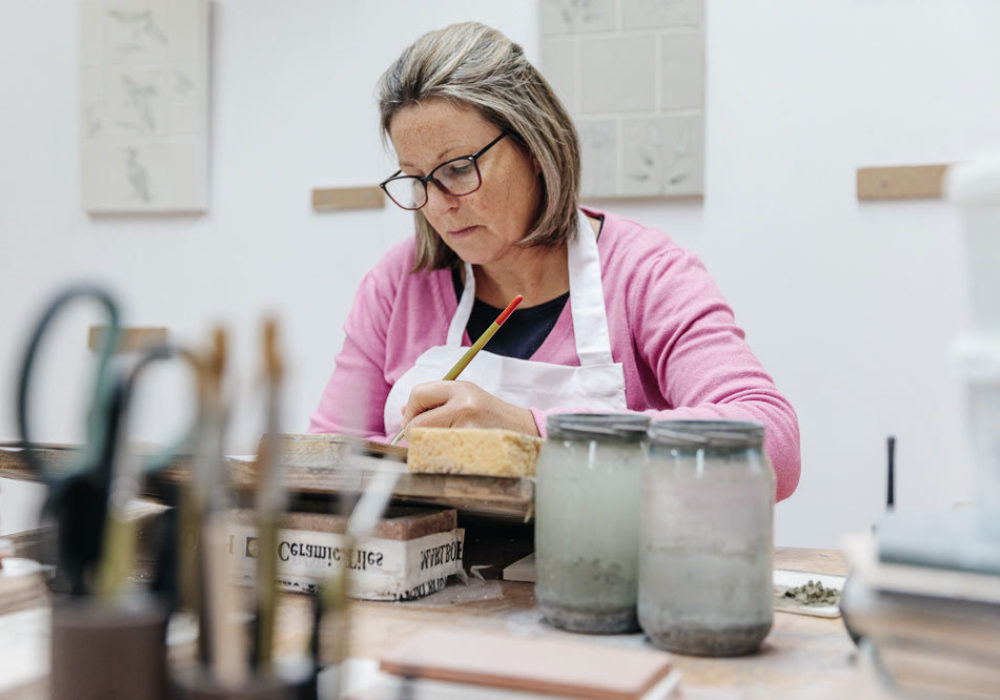
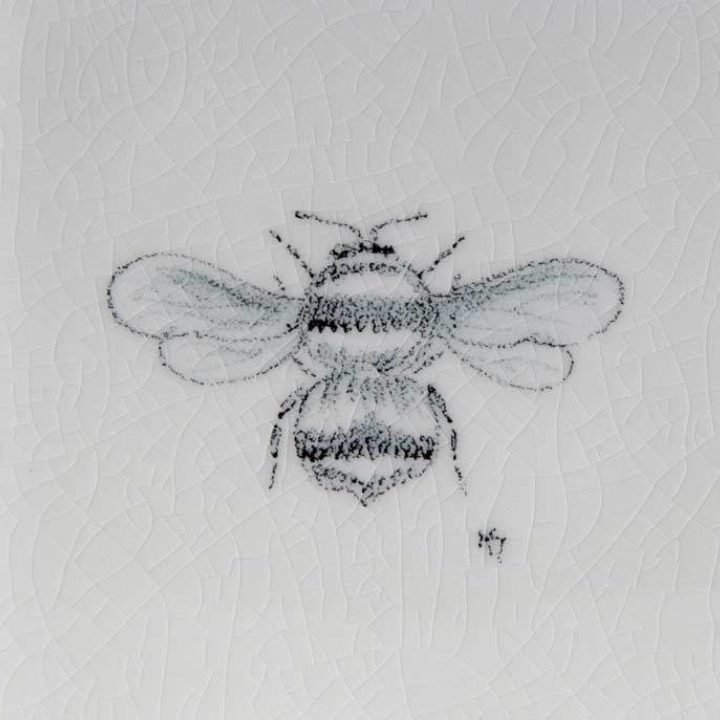
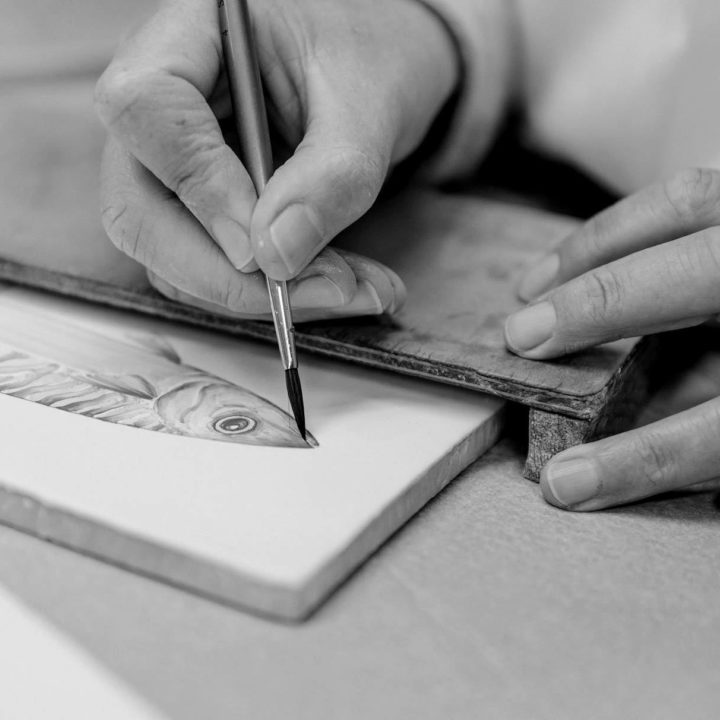
3. Hand Painting
Since we opened our doors in 1936, Marlborough has flown the flag for the Majolica technique of hand painting. Also known as in-glaze painting, this technique requires our artists to train for months in order to perfect the method of freehand painting directly onto unfired glaze. This makes an enormous difference to the end product because the base glaze and artist’s work are fired together – at the same time! This not only better integrates overlapping colours but also adds to the fluidity and intensity of the artist’s brush strokes.
Of course, we could do as others do and use transfers to “paint” onto already fired tiles but while this may save a few pennies, it will never result in the high-quality finished product that we are passionate about producing. Painting onto already fired tiles means that the base colour will be darker because it will have been fired twice. And of course, this means the base colour won’t be a precise match for the plain tiles that accompany painted tiles in a panel – a definite no-no in our books!
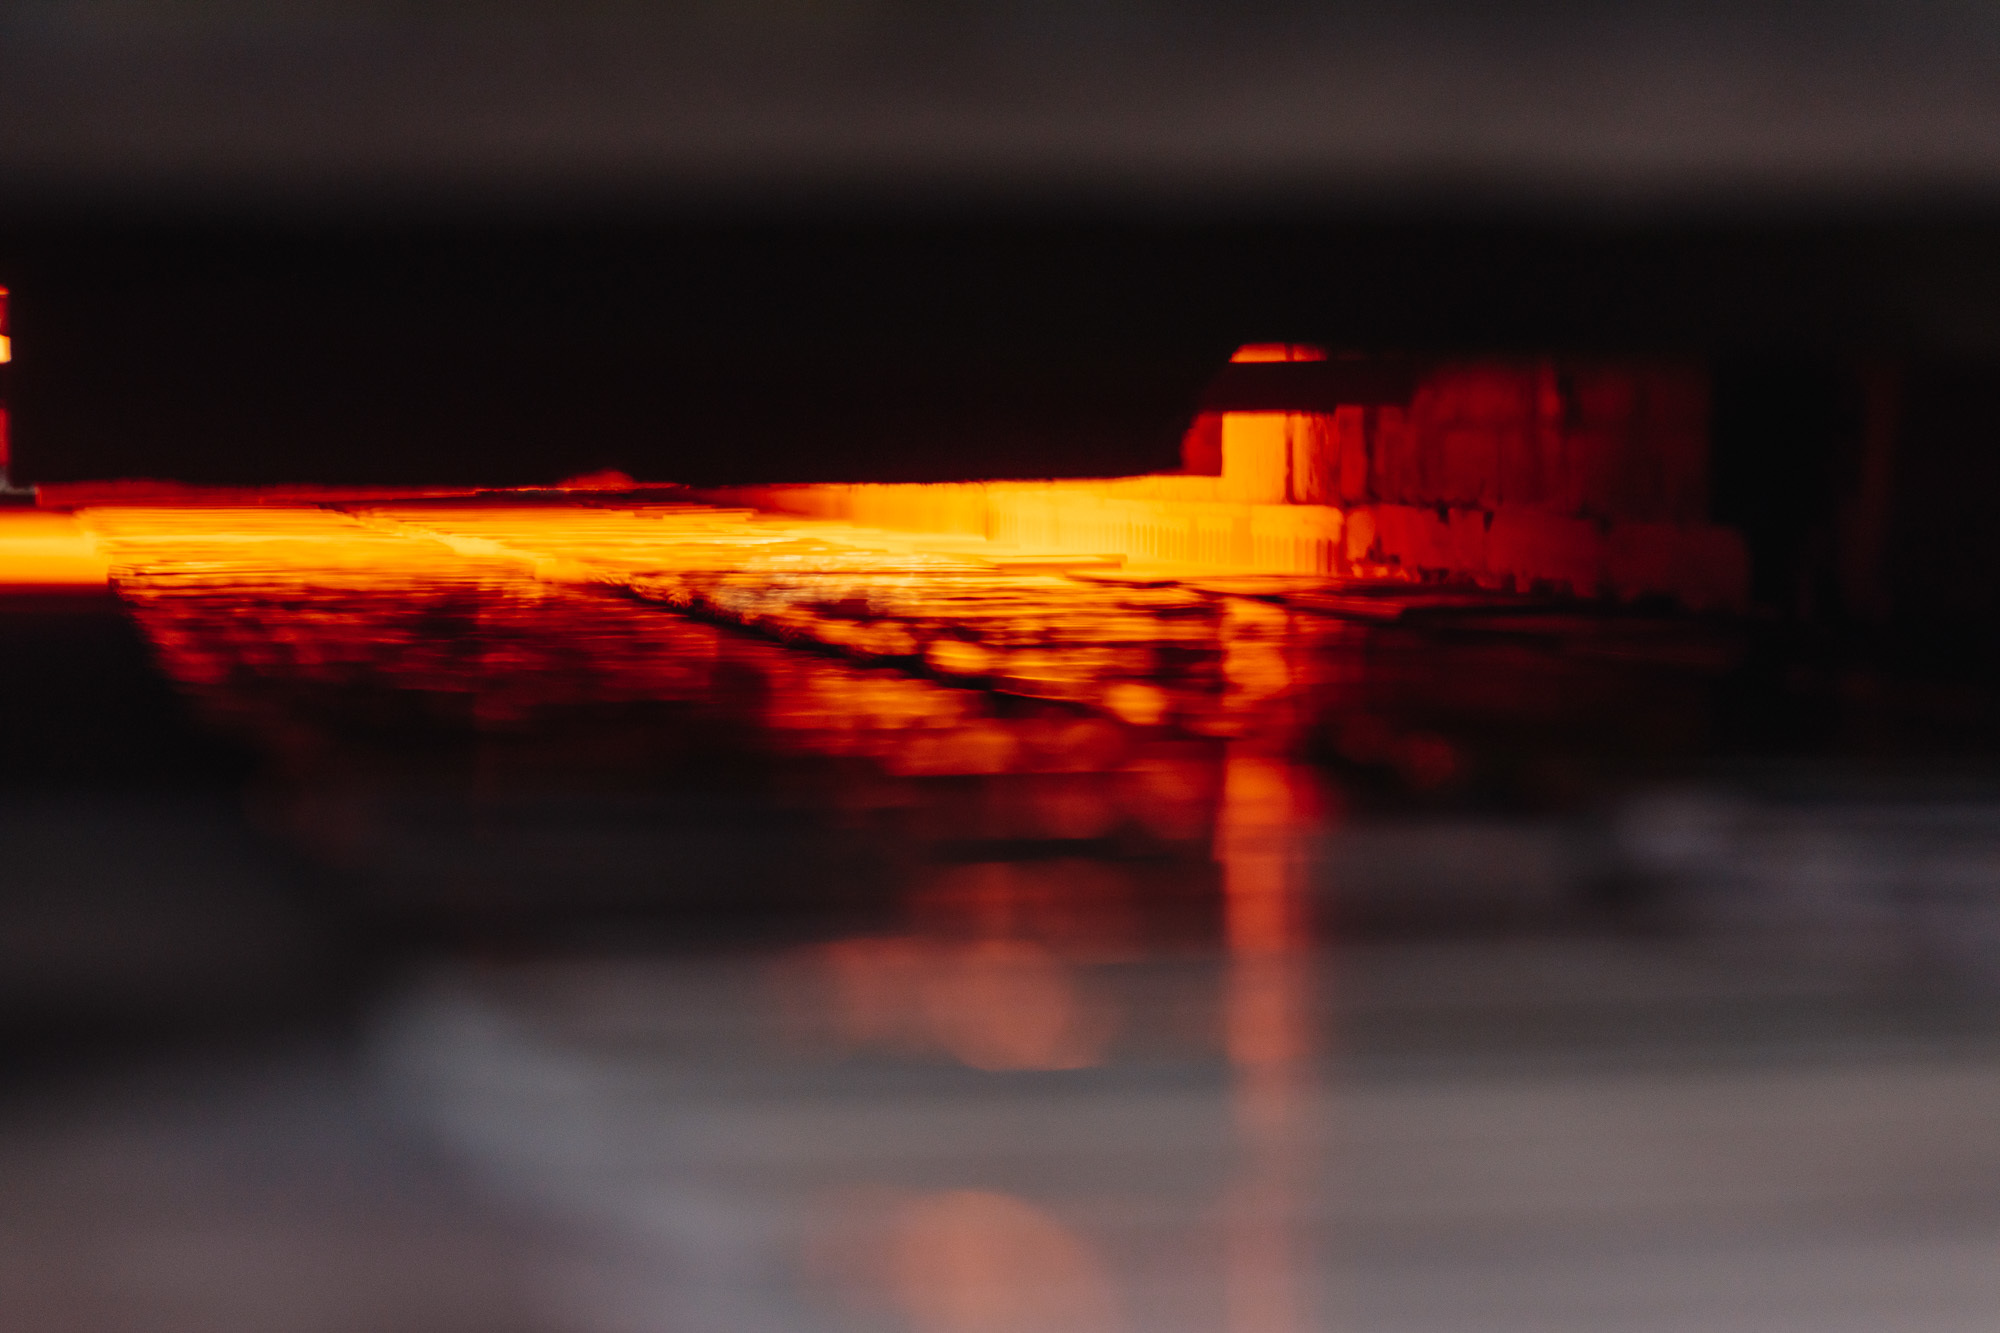
4. Firing
The firing process is where the science really kicks in. The body of the tile and the glaze get heated intensely to strengthen it and give it the desired porosity. After being heated to 1008 degrees through our roller kiln, the tile and the glaze then need to cool down at the same speed to ensure that the glaze sticks to the biscuit.
The detail is all in the recipe – get one thing wrong and the glaze will pull away from the side or crack. We can control this process to create different glazing effects such as a crackle glaze which gives you an antique look tile.
1008°C
The perfect
temperature to
glaze our tiles
As featured in…